


 Spanish
 Russian
 Arabic


Products Description
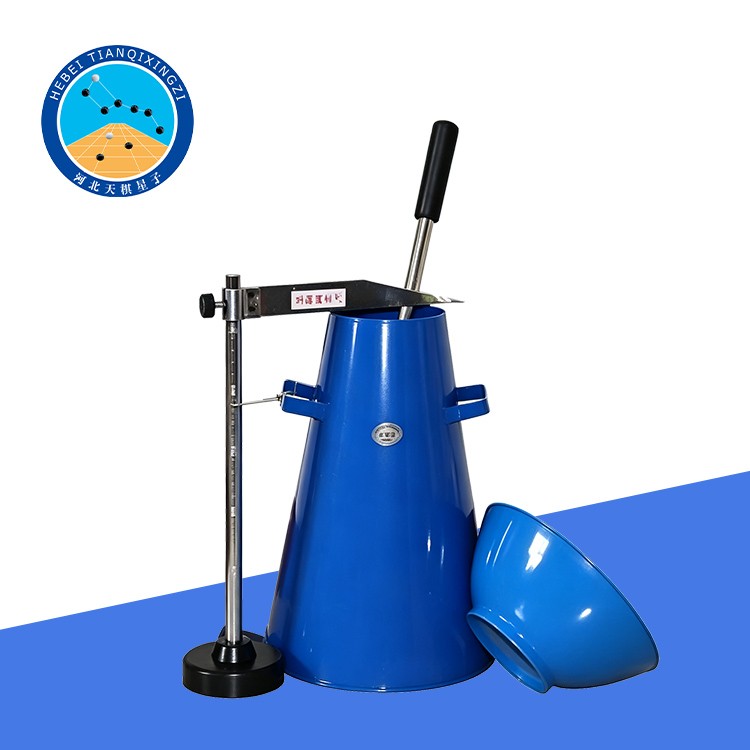
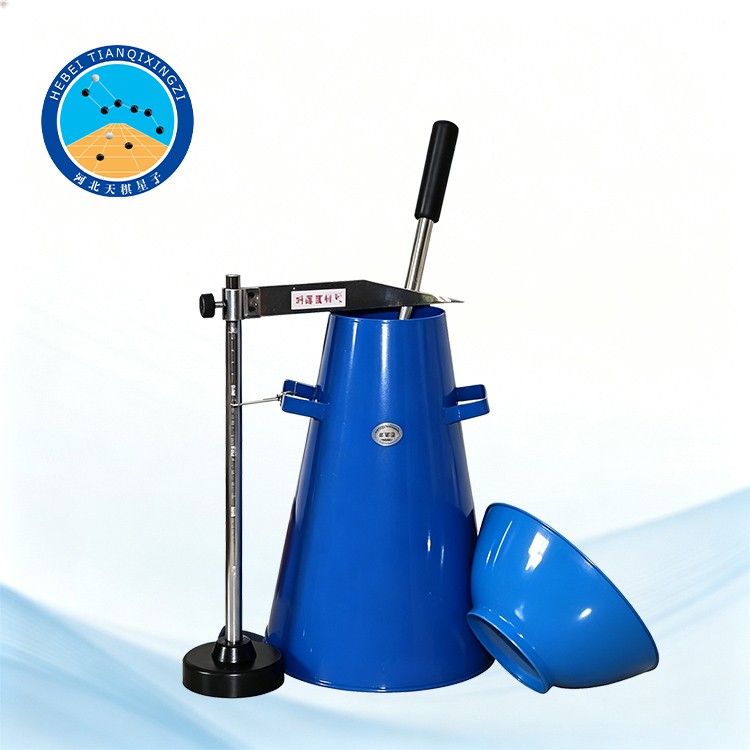
The Concrete Slump Test Apparatus is suitable for slump testing of plastic concrete with a slump range of 10–150 mm and a maximum aggregate size of 40 mm. It is an ideal piece of equipment for teaching, training, and laboratory testing. The apparatus is easy to operate and simple to maintain.
Concrete Slump Test Apparatus (Slump Cone)
Model:TD522-1
I. Product Introduction
The Concrete Slump Test Apparatus (Slump Cone) is developed and manufactured by Hebei Tianqixingzi Inspection Equipment Co.,Ltd. in accordance with JG 3021-1994, Concrete Slump Test Apparatus. It is also designed to meet the technical requirements for slump test apparatus specified in JTG E30-2005, Test Methods of Cement and Concrete for Highway Engineering, including T0522-2005, Test Method for Consistency of Concrete Mixtures — Slump Test Method.
Reference Standards: ASTM C143/C143M, EN 12350-2, ISO 1920-2:2016
II. Technical Parameters
Bottom Diameter of Slump Cone: 200 ± 2 mm
Top Diameter of Slump Cone: 100 ± 2 mm
Height of Slump Cone: 300 ± 2 mm
Wall Thickness: ≥1.5 mm
Cone Ends: Circular; the top and bottom surfaces shall be parallel to each other
Tamping Rod Diameter: 16 ± 0.2 mm
Tamping Rod Length: 600 ± 5 mm
III. Operating Instructions
1. Before the Test: Clean the inside and outside of the slump cone thoroughly and place it on a water-moistened flat plate. If the plate absorbs water, place a plastic sheet underneath it. Step firmly on the foot plates to hold the slump cone securely in position.
2. Filling and Compacting: Fill the slump cone with a representative concrete sample in three layers. The height of each layer should be greater than one-third of the cone height. Rod each layer evenly across its entire cross-section with the tamping rod 25 times. Tamping shall be carried out over the entire area, following a spiral pattern from the edge toward the center.
When tamping the bottom layer, the tamping rod shall reach the bottom of the cone. When tamping the second and third layers, the rod shall penetrate through the respective layer and approximately 20–30 mm into the underlying layer. The tamping rod shall be pressed down vertically, except near the edge, without striking or hitting the concrete.
When tamping the top layer, keep the concrete above the rim of the slump cone and add fresh concrete as necessary during the tamping process. After tamping the top layer, remove excess concrete using a sawing and rolling motion of the tamping rod, then strike off and smooth the surface flush with the rim using a trowel. Remove any concrete remaining around the bottom of the slump cone.
Immediately lift the slump cone vertically upward. The cone should be lifted completely within 5–10 seconds, without subjecting the concrete to any lateral movement or torsional force. The entire process, from the beginning of filling the cone to the completion of lifting, shall be completed within 150 seconds.
3. Measurement of Slump: Place the slump cone next to the slumped concrete specimen. Place a straightedge horizontally across the top of the slump cone. Using a steel ruler, measure the vertical distance from the bottom of the straightedge to the highest point of the concrete specimen. This distance is the slump of the concrete mixture, measured to the nearest 1 mm.
4. Abnormal Slump: If one side of the concrete specimen collapses or experiences shear failure, take a new sample and repeat the test. If the same condition occurs during the second test, it indicates that the concrete has poor workability, and this condition shall be recorded.
5. Slump Flow Measurement: When the slump of the concrete mixture is greater than 220 mm, use a steel ruler to measure the maximum and minimum diameters of the concrete after spreading. If the difference between the two diameters is less than 50 mm, calculate their arithmetic mean and use it as the slump flow value. Otherwise, the test shall be considered invalid.
IV. Applications
The Concrete Slump Test Apparatus is widely used for testing the consistency and workability of fresh concrete. It is suitable for construction material laboratories, concrete production plants, construction companies, universities, research institutes, and quality control laboratories.
The apparatus can be used for routine quality control, concrete mix evaluation, laboratory teaching and training, and fresh concrete testing. It is suitable for ordinary plastic concrete and can be used as part of concrete quality control procedures.
V. Key Features
1. Standard Slump Cone Design: Manufactured with precise dimensions for reliable and repeatable slump testing.
2. Durable Construction: The slump cone is made of sturdy material for frequent laboratory and field use.
3. Easy Operation: Simple filling, tamping, lifting, and measurement procedures make the apparatus convenient for routine testing.
4. Accurate Measurement: The standardized cone dimensions and tamping rod help provide consistent test conditions.
5. Simple Maintenance: The smooth structure is easy to clean after testing and requires minimal maintenance.
6. Complete Testing Equipment: The apparatus can be used with a base plate, tamping rod, straightedge, and measuring ruler to form a complete concrete slump test setup.
